 Pin It
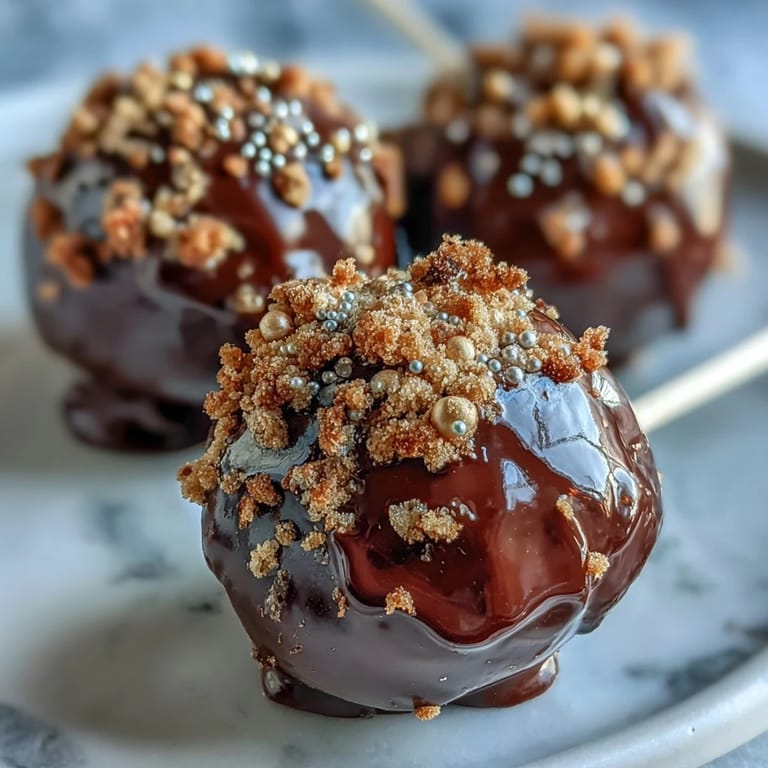
 My neighbor knocked on the door last March with a mischievous grin, holding a photo of these gilded cake pops she'd seen at a St. Patrick's Day party. Within minutes, we were raiding my pantry for chocolate cake mix and melting black candy coating at my kitchen counter. Those little pots of gold became our tradition that year, and honestly, they're easier to make than they look, which is half the appeal.
I'll never forget watching my eight-year-old carefully place gold sprinkles on each pop while narrating her own baking show. She took the job seriously, frowning slightly when one looked lopsided, then declaring it "artistically rustic." That afternoon turned into pure joy, and the cake pops tasted even better because we'd made them together.
Ingredients
- Chocolate cake mix (1 box, about 400 g): Using a quality mix guarantees a moist crumb that won't crack when you're rolling and dipping.
- Chocolate frosting (120 g or ½ cup): This is your binding agent, so don't skimp; store-bought works beautifully and saves time.
- Black candy melts (400 g or 14 oz): These melt smoothly and set with a satisfying snap, creating that classic pot look.
- Gold sprinkles or edible gold pearls (48 g or 2 oz): The gold is your treasure, so use enough to make it shine—these catch the light and make the whole thing feel celebratory.
- Lollipop sticks (24): These give you something to hold onto and make presentation feel special.
- White candy melts (50 g or 1.75 oz, optional): Perfect for piping a delicate rim that contrasts beautifully against the black.
- Green fondant or sprinkles (optional): A small shamrock or sprinkle adds that extra St. Patrick's Day charm.
Tired of Takeout? 🥡
Get 10 meals you can make faster than delivery arrives. Seriously.
One email. No spam. Unsubscribe anytime.
Instructions
- Bake and cool your chocolate cake:
- Follow the package directions and let the cake cool completely on a wire rack; this step is crucial because warm cake will resist forming into clean balls. Once cooled, it should smell rich and feel sturdy enough to crumble without falling apart.
- Crumble the cake into fine pieces:
- Use your fingers or two forks to break the cooled cake into small, uniform crumbs that look almost like wet sand. This takes patience, but smaller crumbs bind together more smoothly.
- Mix cake and frosting into dough:
- Add the frosting gradually and stir until you get a texture that holds together when squeezed but isn't wet or greasy. If it feels too dry, add a tiny bit more frosting; too wet, and your pops will be hard to coat.
- Roll into balls and shape:
- Scoop out portions about the size of a walnut and roll between your palms into smooth balls, then gently flatten the top so it resembles a tiny pot. The flatter top gives you a better surface for the gold decoration.
- Chill for structure:
- Spread them on a parchment-lined tray and refrigerate for 30 minutes; this solidifies them enough that they won't fall apart when dipped. You'll feel the difference when you pick one up—it should feel firm, not jiggly.
- Insert lollipop sticks:
- Dip each stick's tip into melted black candy coating, then gently push it about halfway into each ball, twisting slightly as you go. This coating helps the stick grip the cake mixture so it doesn't spin loose later.
- Chill sticks until set:
- Pop them back in the fridge for 10 minutes so the stick bond sets firmly before you dip the entire pop. This small pause prevents sticks from wobbling during the full coating step.
- Dip into black coating:
- Hold each pop by its stick and dip it fully into the melted black candy, then let the excess drip off before standing it upright in a styrofoam block. Work quickly so the coating doesn't thicken on you, and don't redip—one smooth coating looks cleanest.
- Add gold treasure immediately:
- Before the black coating sets, sprinkle the gold onto the top of each pop while it's still slightly tacky. The gold will stick beautifully and look intentional rather than scattered.
- Optional piping and accents:
- Once the black has set, melt white candy coating and pipe a delicate rim around the top edge of each pot, or add green fondant shamrocks for extra festive flair. These touches feel handcrafted and show the effort you put in.
- Let everything set completely:
- Allow the pops to sit undisturbed for at least 30 minutes so all coatings harden fully and the decorations bond properly. Patience here means they won't crack or shed when you pick them up to eat.
 Pin It
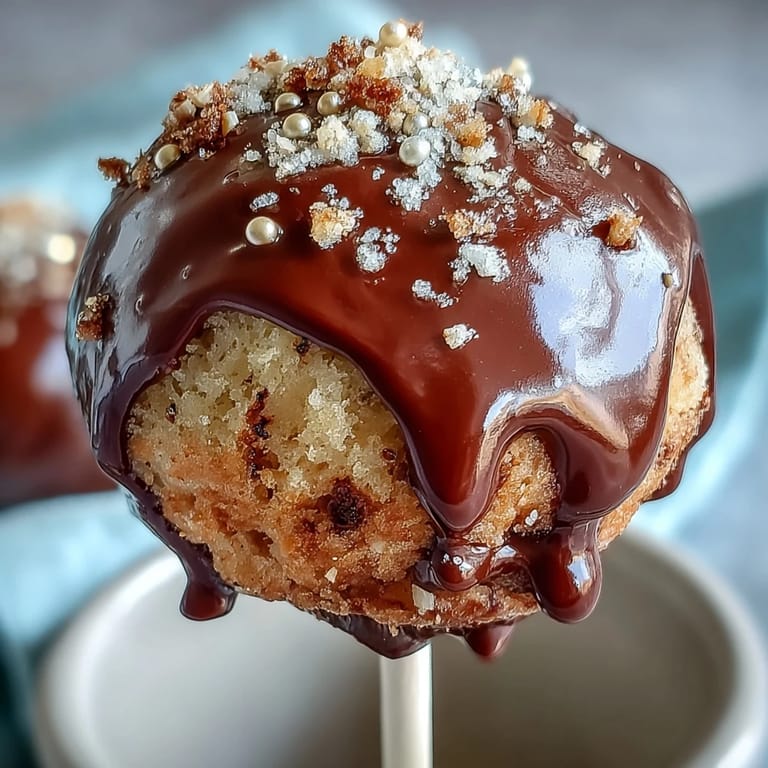
 There's something magical about the moment someone bites into one of these and the black shell breaks to reveal the chocolate cake inside. A friend once closed her eyes and said it felt like opening a treasure chest, and that's exactly what we were going for.
The Secret to Smooth Dipping
The first time I rushed through dipping, my coating was too thick and looked bumpy and uneven. The second time, I kept the melted candy over warm water and worked with purpose but not panic, and the result was silky and professional-looking. Temperature control is everything here—not hot enough and the coating won't flow, too hot and it gets thin and runny.
Making Them Ahead
These actually benefit from being made a day or two early because the flavors meld and the chocolate coating becomes even more satisfying to bite into. Store them in an airtight container at room temperature, and they'll stay perfect for three days, which takes a lot of pressure off party prep.
Variations and Personal Touches
Once you nail the basic recipe, you can play with it endlessly. I've made versions with white chocolate coating and added edible glitter, and a friend made mini ones for cocktails by using half-sized balls. The foundation is so flexible that your own creativity becomes the real ingredient.
- Try using white candy melts for a silver pot look, or even green melts for a completely different holiday theme.
- If piping feels intimidating, use a small spoon to drizzle white coating across the top in abstract lines instead of a perfect rim.
- Make these a full week ahead if you're feeling organized, as they store beautifully and taste just as good cold from the container.
 Pin It
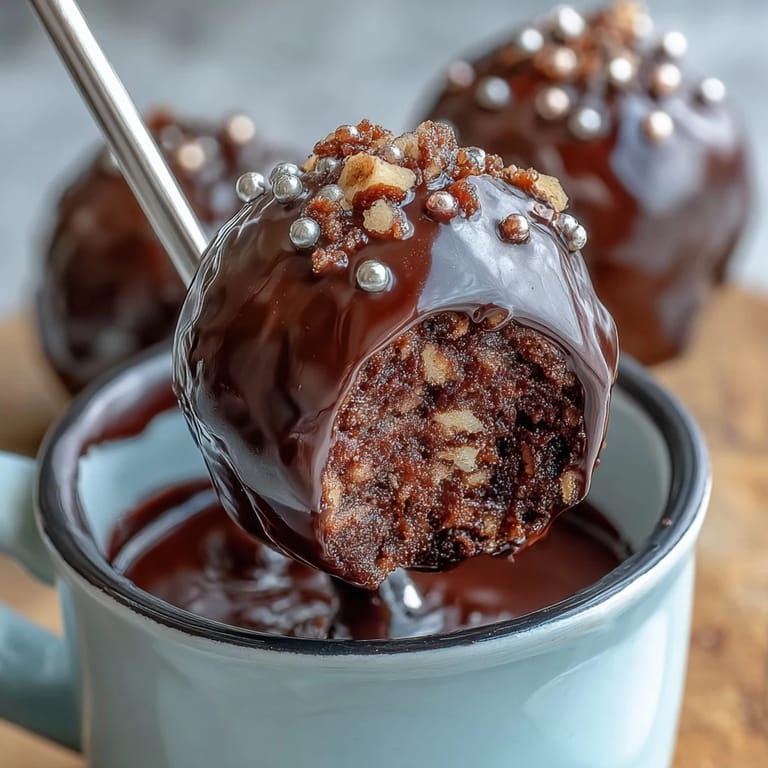
 These little pots of gold have become my go-to when I want to bring something festive that people remember long after the party ends. There's real magic in homemade treats that look fancy but taste like genuine care.
Recipe FAQs
- → How do I shape the cake balls to resemble pots?
After rolling the chocolate and frosting mixture into balls, gently flatten the tops slightly to mimic the shape of a pot before chilling.
- → What candy melts work best for coating?
Black candy melts provide a smooth and sturdy coating, perfect for dipping and decorating with gold accents.
- → Can I add other decorations besides gold sprinkles?
Yes, green fondant or green sprinkles can be added for shamrock details, enhancing the festive look.
- → How long should the cake balls chill before dipping?
Refrigerate the shaped cake balls for about 30 minutes to firm them up for easier dipping.
- → What is the best storage method for these treats?
Store the finished cake balls in an airtight container at room temperature for up to three days to maintain freshness.