 Pin It
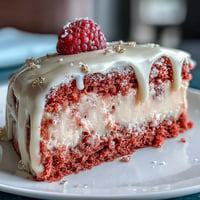
 My sister texted me a photo of green velvet cupcakes from some fancy bakery, and I immediately thought, why not do this my way? I'd been craving chocolate for weeks, and the idea of mint mixed in felt like the perfect excuse to make something bite-sized and indulgent. Twenty minutes later, I had brownie batter streaked with peppermint extract, and the kitchen smelled like a chocolate mint dream. These little brownie bites became my St. Patrick's Day answer to store-bought desserts.
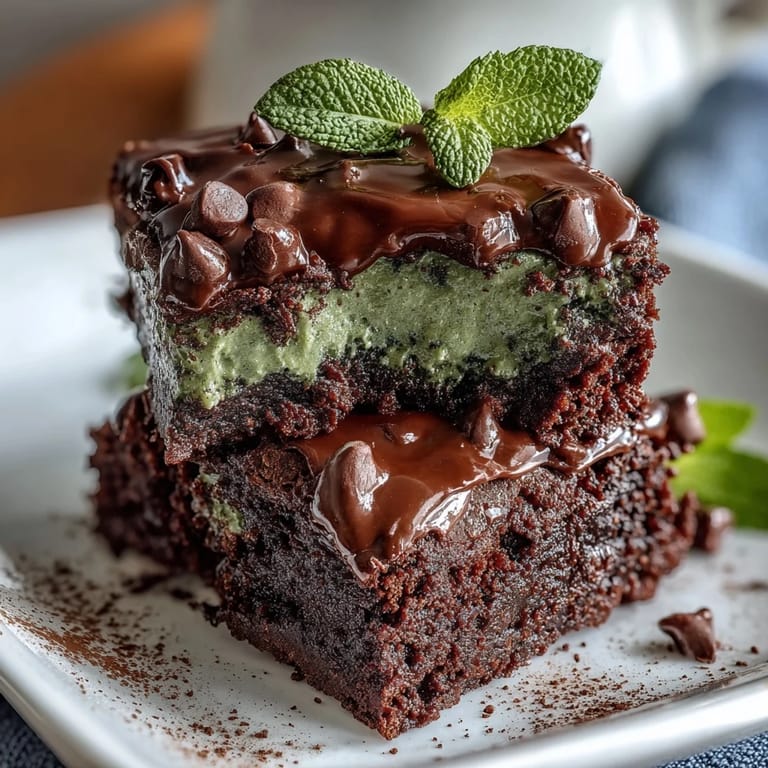
I made these for a potluck last March, and someone asked me how long they'd been fermenting because the flavor was so developed. I laughed and said, just good chocolate and patience. By the end of the night, only crumbs remained, and three people asked for the recipe. That's when I knew these weren't just a festive novelty.
Ingredients
- All-purpose flour (3/4 cup): The structural backbone, keeping these bites tender rather than dense and cakey.
- Unsweetened cocoa powder (1/2 cup): Use the good stuff here—it's what gives that sophisticated chocolate depth without any sweetness.
- Baking powder (1/2 tsp): Just enough lift to keep them light and fudgy, not brick-like.
- Salt (1/4 tsp): A small pinch that makes the mint pop and rounds out the chocolate.
- Unsalted butter, melted (1/2 cup): Melting it first creates a richer crumb than creaming butter and sugar ever could.
- Granulated sugar (1 cup): The sweetness that balances the cocoa's bitterness and pairs beautifully with mint.
- Eggs, room temperature (2 large): Cold eggs clump; room temperature ones blend smooth and bind everything together.
- Vanilla extract (1/2 tsp): The quiet ambassador that makes both chocolate and mint taste more like themselves.
- Peppermint extract (1/2 tsp): A little goes a long way, so resist the urge to drown it in mint.
- Green food coloring, 2-3 drops (optional): Just enough to hint at festive without making them look artificial.
- Mini chocolate chips (1/2 cup, plus more for topping): The small size means every bite gets chocolate; the extra chips on top create little jewels.
- Chopped Andes mints or mint chocolate pieces (1/4 cup, optional): These add texture and an extra mint note if you're feeling bold.
Tired of Takeout? 🥡
Get 10 meals you can make faster than delivery arrives. Seriously.
One email. No spam. Unsubscribe anytime.
Instructions
- Get your oven ready and prep the tin:
- Heat your oven to 350°F and grease a mini muffin tin well or line it with small cupcake papers. This step takes sixty seconds but saves you from chocolate-covered fingers later.
- Combine the dry team:
- Whisk flour, cocoa powder, baking powder, and salt in a medium bowl until everything is evenly distributed. You're not looking for a smooth paste, just uniform speckles of cocoa throughout.
- Build the wet base:
- In a larger bowl, whisk the melted butter and sugar together until the sugar granules start to dissolve, about thirty seconds. Add eggs one at a time, whisking after each one so they fully incorporate, then stir in vanilla, peppermint extract, and food coloring if using.
- Fold it together gently:
- Pour the dry ingredients over the wet mixture and fold with a spatula using the slowest strokes possible, just until you don't see flour streaks anymore. Overmixing makes tough brownies, and nobody wants that.
- Add the chocolate and mint pieces:
- Gently fold in the mini chocolate chips and Andes mints if you're using them. The batter should feel rich and studded with chocolate.
- Fill the tin:
- Spoon batter into each cup until it's about three-quarters full, leaving a tiny bit of room for the bites to puff slightly. Top each with a few extra chocolate chips if you want them to look shiny and extra.
- Bake until fudgy:
- Bake for 13 to 15 minutes, watching for the moment when a toothpick inserted in the center comes out with just a few moist crumbs clinging to it. This is the sweet spot between underbaked and overbaked.
- Cool with patience:
- Leave them in the tin for five minutes so they firm up slightly, then transfer to a wire rack to cool completely. This resting period is crucial for that fudgy texture.
 Pin It
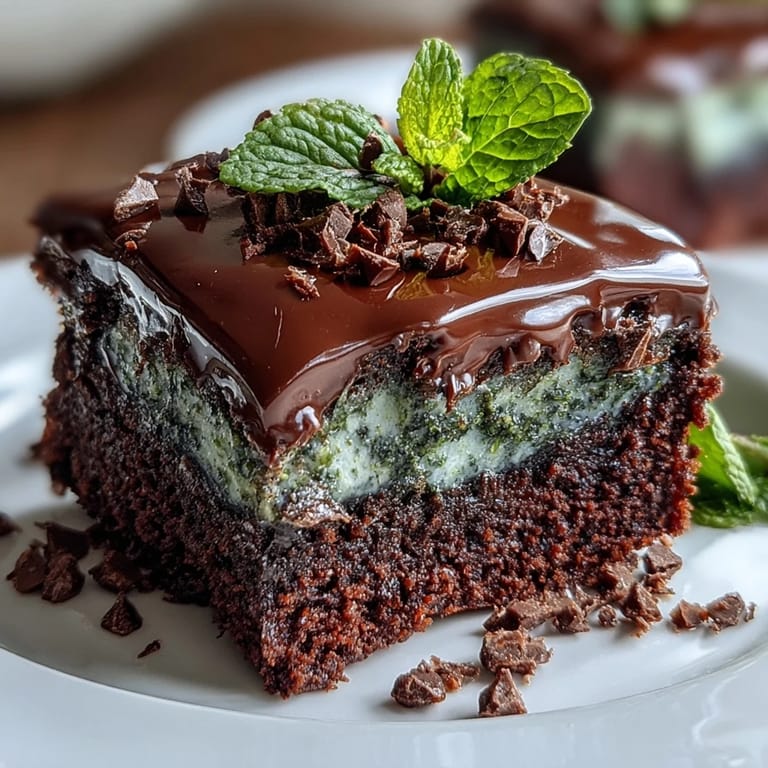
 I once brought these to a St. Patrick's Day party where everyone expected the usual green beer jokes, but instead they were all quietly biting into these little fudgy gems. Someone's grandmother asked for the recipe written out because she wanted to make them for her book club, and I realized these bites had transcended occasion and became just plain beloved.
The Texture Secret You Need to Know
The magic in these brownie bites lives in the baking time. Most people overbake anything in a mini muffin tin because they're nervous about raw batter, but you actually want them slightly underbaked. That toothpick test is your friend—those few moist crumbs are intentional, they'll set as the bites cool, and you'll end up with fudge instead of cake. I learned this after pulling out a batch that came out a little too firm, and I've never gone back.
Making Them Your Own
The beauty of this recipe is how flexible it is once you understand the core. I've swapped the Andes mints for crushed Girl Scout Thin Mints, made a batch with white chocolate chips for contrast, and once even mixed in a tiny pinch of cayenne pepper because I was feeling adventurous. The peppermint extract is really the only non-negotiable ingredient—everything else is negotiable. Your kitchen, your rules.
Storing and Sharing These Little Treasures
They keep beautifully in an airtight container for up to five days, though honestly they rarely last that long in my house. They're sturdy enough to pack in lunch boxes, fancy enough to gift in small boxes with ribbon, and casual enough to eat straight from a bowl while scrolling through your phone. I've learned the hard way that if you stack them while warm, they stick together, so let them cool completely first.
- Store them in an airtight container on the counter, not the fridge, because cold makes the fudginess less pronounced.
- If you're making them ahead, bake them a day early and let them sit overnight—the flavor deepens and the texture becomes even more fudgy.
- Wrap individual bites in parchment paper if you're gifting them, because it makes the whole thing feel more intentional and delicious.
 Pin It
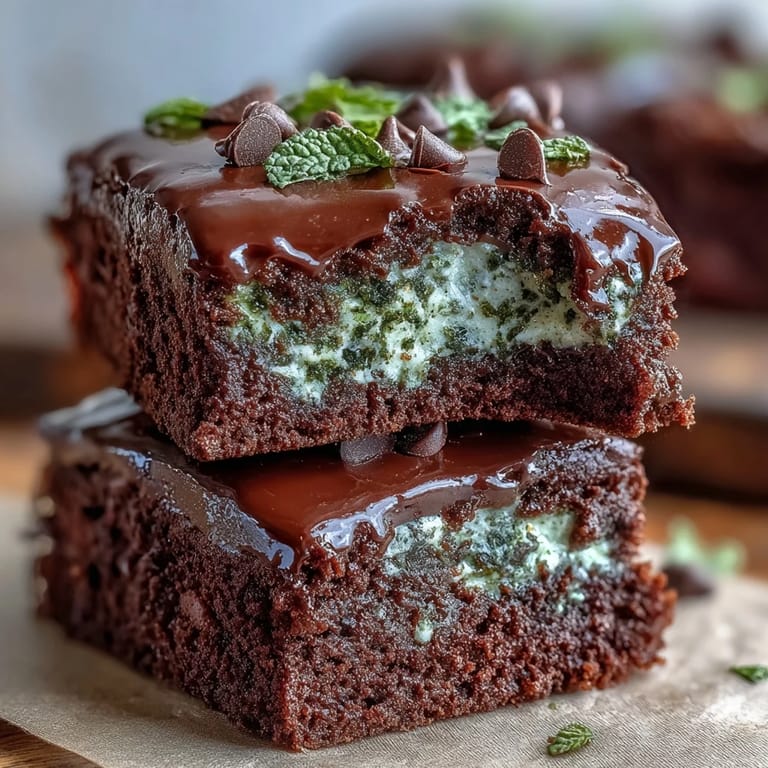
 These brownie bites have become my go-to for when I want to make something that feels special without spending hours in the kitchen. There's something deeply satisfying about pulling a warm, fudgy bite from the tin and knowing you made it exactly right.
Recipe FAQs
- → What gives the brownie bites their mint flavor?
The mint flavor comes from peppermint extract and optionally chopped Andes mints folded into the batter.
- → Can I make these brownie bites without green food coloring?
Yes, the green food coloring is optional and only added for a festive appearance.
- → How do I know when the brownie bites are done baking?
They are ready when a toothpick inserted comes out mostly clean with a few moist crumbs clinging to it.
- → Can I store the brownie bites for later?
Store cooled brownie bites in an airtight container for up to 5 days to maintain freshness.
- → Are these brownie bites suitable for a vegetarian diet?
Yes, all ingredients used fit within a vegetarian diet.