 Pin It
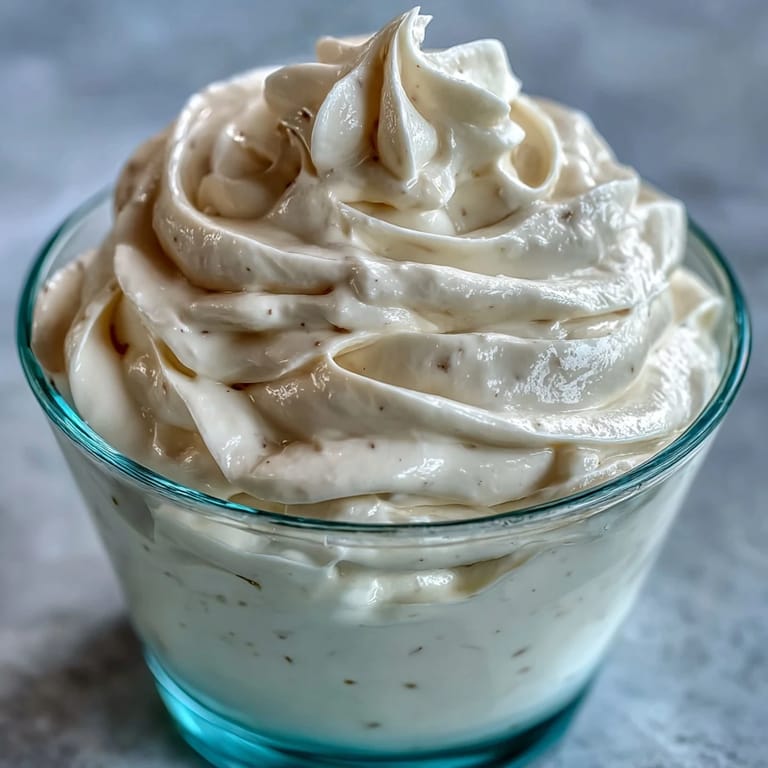
 The first time I whipped up mayonnaise at home, I was barely awake on a sleepy Sunday, and the sound of the immersion blender startled my cat into hiding. I was chasing the promise of a creamy condiment for my BLT, and couldn't believe how quickly the whole thing came together. As the emulsification magic happened, the pale golden hue caught the morning light and almost looked too pretty to hide in the fridge. My kitchen smelled faintly of Dijon mustard, and the anticipation made me sample a spoonful straight away. There was something almost mischievous about making such a classic staple from scratch in under five minutes.
My friend once hovered behind me during lunch prep, watching in disbelief as the jar of oil transformed with the egg just minutes before guests arrived. We laughed when the only thing left out was the pepper, but everyone raved about the homemade touch. It felt special to share a batch I whipped up on the spot—no more last-minute store runs or bland store-bought jars. That quick, impromptu moment cemented this recipe as my party trick. It made me realize how much delight something simple can bring to the table.
Ingredients
- 1 large egg (room temperature): Vital for perfect emulsification; let it come to room temperature for a creamier texture.
- 1 tablespoon Dijon mustard: Adds both flavor and helps the mayo thicken, so don't skip it.
- 1 tablespoon white wine vinegar or lemon juice: Offers tang and brightness—I swap depending on what's handy for a subtle tweak.
- 1 cup neutral oil (sunflower, canola, light olive oil): Neutral oils keep the flavor balanced, but olive oil gives a bolder taste if that's your thing.
- 1/2 teaspoon fine sea salt: Brings out the richness; start small, adjust to taste.
- 1/4 teaspoon freshly ground black pepper (optional): The little bite makes a difference, but it's fine without if preferred.
Tired of Takeout? 🥡
Get 10 meals you can make faster than delivery arrives. Seriously.
One email. No spam. Unsubscribe anytime.
Instructions
- Gather and Prep:
- Arrange all ingredients and tools, relishing the anticipation of homemade mayo as you crack the egg into your blending container.
- Layer the Ingredients:
- Place mustard, vinegar or lemon juice, salt, and pepper around the egg, then pour the oil carefully to avoid splashy messes.
- Blend and Emulsify:
- Press your immersion blender to the container's bottom, flip it on, and watch the mixture thicken as you hold your breath for about 10 seconds.
- Move and Finish:
- Gently lift and lower the blender, seeing pale streaks transform to creamy mayo in under a minute, making sure no oil lurks unblended.
- Taste and Store:
- Scoop out a small dollop, adjust with a dash more salt or acid if needed, then transfer to your jar for fridge safekeeping.
 Pin It
 There was a day I brought homemade mayo to a summer picnic—a jar tucked into a lunch basket beside fresh tomatoes and crusty bread. Unexpectedly, it sparked a small debate about mayo's true flavor, and everyone wanted a second taste. It felt good to see the simple act of making something from scratch become the centerpiece. That afternoon, mayo felt less like a condiment and more like an invitation for conversation. It made me appreciate how small gestures can elevate ordinary moments.
Making Mayo Your Own
I once tossed in a small garlic clove and watched the mayo take on a new personality, instantly becoming aioli. Playing with herbs or hot sauce turns your jar into a canvas—I've even added smoked paprika for a burger night. Flavor experiments always make me smile, especially when someone asks what's in the secret sauce. It's no longer just about the base recipe—it's about making each batch remind you of a mood or meal. Don't hesitate to riff and let your taste buds guide you.
No-Fuss Clean Up
The best part of immersion blender mayo is the minimal mess. One tall jar, one blender, and a couple of measuring spoons—my clean-up is almost as quick as the prep. I usually rinse the blender right after use, before everything has a chance to stick. For storage, a repurposed jam jar works perfectly, and labeling the date helps keep things organized. Simplicity in the kitchen makes the experience even sweeter.
When Freshness Matters Most
Homemade mayonnaise truly shines when you pair it with peak produce—think vibrant tomatoes or crisp lettuce. I've learned it also livens up roasted veggies and transforms potato salads. The difference between homemade and store-bought is stark at first bite, especially when you taste the richness and creaminess. Keeping homemade mayo cold is non-negotiable—never leave it out too long.
- A quick stir after chilling revives the texture.
- Use within a week for best flavor.
- Trust your senses if the smell or color changes.
 Pin It
 There's something satisfying about mastering a kitchen classic in just minutes. Whether you spread it on a sandwich or dress up a potato salad, this homemade mayo always feels a touch special.
Recipe FAQs
- → Can I use different oils for this method?
Yes, neutral oils like sunflower, canola, or light olive oil work best. Olive oil imparts a stronger flavor.
- → How do I achieve a thicker consistency?
Blend until the mixture fully emulsifies and thickens. Using a tall, narrow container helps ensure proper texture.
- → What if I want a tangier flavor?
Add up to 2 teaspoons more vinegar or lemon juice for extra tang. Taste and adjust as needed.
- → Is this suitable for vegetarians and gluten-free diets?
Yes, it is vegetarian and gluten-free. Always check labels for potential allergens or cross-contamination.
- → How long can I store it?
Keep refrigerated in a sealed jar and use within one week for the best quality and safety.
- → Can I add garlic for aioli?
Yes, blending in a small garlic clove produces a tasty, garlicky spread variation.