 Pin It
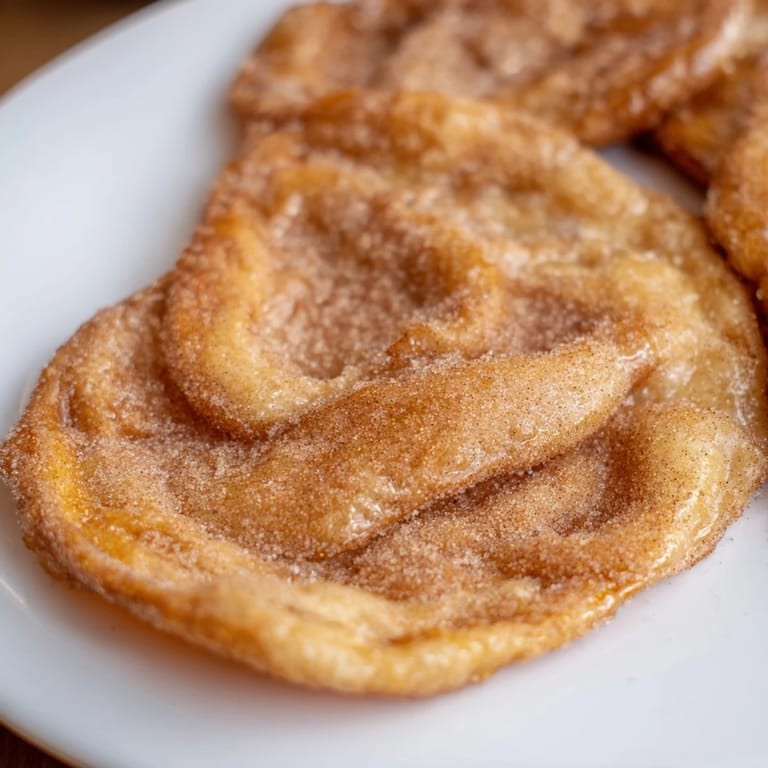
 There's something magical about the smell of hot oil and cinnamon that takes me straight back to the county fair, watching vendors stretch dough thin as tissue paper before it hit the fryer. My first attempt at making elephant ears at home was a disaster—I was so impatient waiting for the oil to heat that I dropped a piece in too early and watched it sink like a stone. But once I got the temperature right, golden and puffy ears started emerging from the oil, and I understood why fairgrounds sell these by the dozen. Now whenever I make them, that warm carnival feeling fills my kitchen.
I remember making these for my nephew's birthday party, and he actually asked if they were homemade because he'd never had them any other way before. Watching him and his friends tear into a plate of warm elephant ears dusted with cinnamon sugar, sticky fingers and all smiles, made me realize these simple fried pastries are basically edible nostalgia. It was one of those moments where you realize the fanciest dessert in the world can't compete with something this honest and good.
Ingredients
- Active dry yeast (2¼ teaspoons): This is the secret to getting those beautiful air pockets that make elephant ears so light and tender instead of dense and chewy.
- Warm milk (1 cup): Use a thermometer to check it's around 110°F—too hot kills the yeast, too cold and nothing happens.
- Granulated sugar (2 tablespoons for dough): Just enough sweetness to feed the yeast and hint at what's coming in the topping.
- Unsalted butter, melted (2 tablespoons): This creates a tender crumb and adds richness without overwhelming the delicate dough.
- Salt (½ teaspoon): Balances the sweetness and makes all the flavors pop.
- All-purpose flour (2½ to 3 cups): Start with less and add gradually so you don't end up with tough, dense ears.
- Vegetable oil (3 cups): You need enough oil to fully submerge the dough, and vegetable oil stays neutral so it doesn't compete with the cinnamon sugar.
- Cinnamon (2 teaspoons): Ground cinnamon is essential—it's the soul of the topping, so don't skip it or use stale spice.
- Granulated sugar for topping (½ cup): This is what makes them shine, so use fresh sugar that hasn't clumped up.
Tired of Takeout? 🥡
Get 10 meals you can make faster than delivery arrives. Seriously.
One email. No spam. Unsubscribe anytime.
Instructions
- Wake up the yeast:
- Dissolve the yeast in warm milk with 2 tablespoons sugar and let it sit for about 5 minutes until it's foamy and alive—you'll see tiny bubbles on top, and that's your signal that everything is ready to go.
- Build the dough:
- Stir in the melted butter and salt, then gradually mix in the flour until you have a soft, shaggy dough that comes together. If it feels sticky, add flour a tablespoon at a time rather than dumping it all in at once, which is how I learned to avoid tough, dense dough.
- Knead until smooth:
- Work the dough on a floured surface for about 5 minutes until it feels elastic and springs back when you poke it—this develops the gluten that gives you that tender, airy crumb.
- First rise:
- Place the dough in a greased bowl, cover it with a damp cloth, and let it rise in a warm spot for about an hour until it's doubled in size. A turned-off oven with the light on works perfectly if your kitchen is cold.
- Prepare the topping:
- Mix the cinnamon and sugar in a shallow dish and set it nearby so you're ready when the ears come out of the oil.
- Shape the dough:
- Punch down the dough, divide it into 8 pieces, roll each into a ball, then stretch or roll each one into a thin oval about 8 inches long. Don't be afraid to really stretch it—thinner ears puff up better and get crispier.
- Heat the oil:
- Get your oil to 350°F using a thermometer—this is non-negotiable because too cool and they'll be greasy, too hot and they'll burn before puffing up properly.
- Fry to golden perfection:
- Working with one or two ovals at a time, gently slide them into the hot oil and fry for about a minute per side until they're puffy and golden brown. Use a slotted spoon or tongs to flip them, and don't overcrowd the pan or the temperature will drop.
- Coat while warm:
- Drain briefly on paper towels, brush with melted butter if you'd like extra richness, then immediately dredge both sides in the cinnamon sugar so it sticks to the oil-warmed surface. Serve warm because they're honestly best that way.
 Pin It
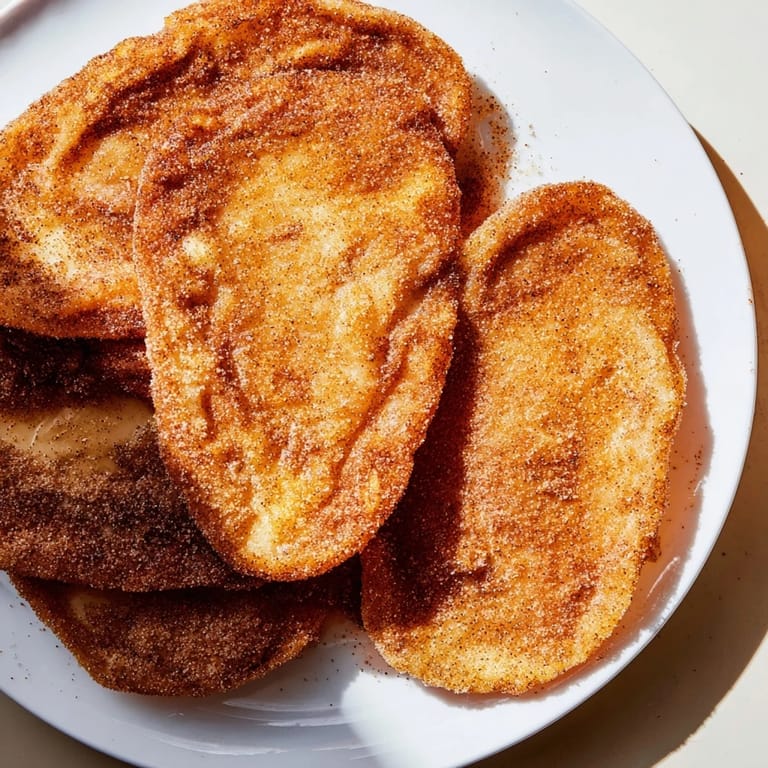
 There was this one time when my friend showed up unexpectedly on a Saturday morning, and instead of ordering takeout I decided to whip up a batch of elephant ears. Watching her face when she took that first bite—when the cinnamon sugar exploded on her tongue and she realized I'd made them from scratch—made the whole process absolutely worth it. Food that makes people stop and really taste it, that's the kind of cooking I live for.
The Perfect Texture Every Time
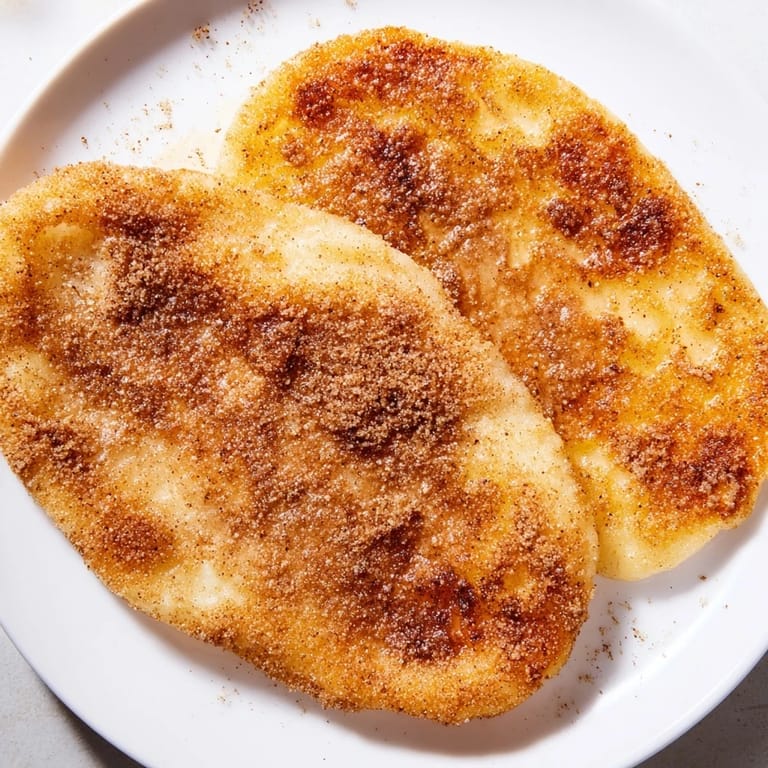
The magic of elephant ears is all about that contrast—crispy exterior, tender interior, and that rush of cinnamon sugar hitting your taste buds. The key is not overworking your dough when you stretch it, because you want those air pockets to stay intact so they puff up dramatically in the hot oil. I learned to handle the stretched ovals gently, almost reverently, because rough handling deflates all that promise you've built up during the rise.
Variations and Dipping Partners
While classic cinnamon sugar is untouchable, I've experimented with adding nutmeg or even a tiny pinch of cardamom to the topping, which adds an unexpected sophistication without overshadowing the main event. For serving, chocolate sauce is the natural companion, but I've had equally good results with warm honey or jam for dipping. The dough itself is actually pretty neutral, so you could even try savory toppings like parmesan and herbs if you're feeling adventurous, though something tells me you'll keep coming back to the traditional route.
Make-Ahead Magic and Storage
This is where elephant ears become a weeknight superpower—you can make the dough up to 12 hours ahead and refrigerate it, then divide, stretch, and fry when you're ready. I usually prep mine the night before so all I have to do is warm up the oil and fry them fresh. Just remember that these are at their absolute best eaten within a few hours of frying, so don't try to store them hoping for leftovers—there won't be any.
- Store fried elephant ears in an airtight container at room temperature for up to a day, though they'll lose their crispness by morning.
- You can freeze the shaped but unfried dough ovals on a baking sheet and fry them straight from frozen if you're really planning ahead.
- Reheating in a warm oven for a few minutes will restore some crispness, but fresh is always going to be superior.
 Pin It
 Making elephant ears is about more than the recipe—it's about that moment when hot oil transforms simple dough into something special. Once you've made them, you'll wonder why you ever bought them from anyone else.
Recipe FAQs
- → What kind of dough is used for elephant ears?
The dough combines active dry yeast, warm milk, sugar, melted butter, salt, and flour, kneaded until smooth and allowed to rise for a light texture.
- → How thin should the dough be stretched?
Stretch or roll each dough piece into a thin oval about 8 inches long to achieve the characteristic crispy texture after frying.
- → What temperature is best for frying elephant ears?
Maintain the oil temperature at 350°F (175°C) to ensure the dough cooks quickly and evenly, becoming golden and crisp without absorbing excess oil.
- → Can the cinnamon sugar coating be customized?
Yes, you can adjust the cinnamon-to-sugar ratio or add spices like nutmeg for enhanced flavor before dredging the fried dough.
- → What is the purpose of brushing melted butter before coating?
Brushing melted butter helps the cinnamon sugar stick better while adding a rich, savory note to the sweet coating.
- → Can the dough be prepared ahead of time?
Yes, the dough can be made up to 12 hours in advance and refrigerated before frying for convenience without sacrificing texture.