 Pin It
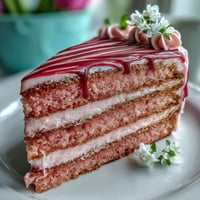
 The scent of vanilla mingling with a bright rosé always transforms my kitchen into a celebration—whether there's an occasion or not. It’s that anticipation as the pink batter fluffs up, promising both elegance and fun. I’ve watched the gold drip trickle down the cakeside, grinning at how something so shimmery can still feel cozy. There’s a hint of whimsy when I dust the final layer of edible gold, and suddenly the countertop feels a little more magical. Even the mess from painting the drips becomes part of the ritual.
The last time I made this for a friend’s bridal shower, the air was flushed with laughter and the faint pop of champagne corks. I remember how we all stopped mid-conversation as the cake was carried out, its gold drip catching every bit of sunlight in the room—a centerpiece that demanded a celebratory toast before the first slice was even cut.
Ingredients
- All-purpose flour: Sifting it first makes the cake fluffy and prevents those pesky lumps that used to sneak into every slice.
- Granulated sugar: Just enough to deliver sweetness without masking the floral rosé notes—I learned fine-tuning here matters.
- Baking soda: Ensure it's fresh, as this is what gives each layer its gorgeous rise.
- Fine salt: Even in desserts, just a pinch deepens all the other flavors.
- Cocoa powder (unsweetened): Just a touch—don't skip it! It subtly rounds out the pink hue and flavor.
- Vegetable oil: This keeps the crumb moist, even on day two, and is more forgiving than butter.
- Large eggs (room temperature): They help emulsify, so everything blends into a smooth batter—no streaks or curdling.
- Buttermilk (room temperature): Slight tanginess that makes the cake tender and balances sweetness; cold buttermilk can cause dense spots.
- Rosé wine: Dry or sparkling works—I've found it’s all about adding a subtle floral whisper, not alcohol.
- Vanilla extract: Enhances the warmth and ties together all those fragrant notes.
- White vinegar: Reacts with the baking soda for a finer crumb; don’t worry, you won’t taste it.
- Pink or rose gel food coloring: Use gel, not liquid—you’ll get a vibrant shade without watering down your batter.
- Unsalted butter (room temperature): For the buttercream, soft ensures a fluffy, pipeable consistency—no one wants lumps here.
- Powdered sugar (sifted): Sifting is my insurance policy against gritty frosting.
- Rosé wine (for buttercream): A touch infuses the frosting with sophisticated flavor; add slowly for just the right balance.
- Vanilla extract (for buttercream): Unites the flavors without overpowering the delicate rosé.
- Pinch of salt (for buttercream): Too much sugar? A little salt always pulls it back.
- White chocolate chips: The base of that glossy drip—use high-quality for best melting.
- Heavy cream: Thins the chocolate to the perfect drizzling consistency; don’t overheat it.
- Edible gold luster dust: Must be truly edible—labels matter! A tiny bit goes a long way for that regal finish.
- Vodka or clear lemon extract: For turning luster dust into paint—a quick swipe transforms the drip into shimmering art.
Tired of Takeout? 🥡
Get 10 meals you can make faster than delivery arrives. Seriously.
One email. No spam. Unsubscribe anytime.
Instructions
- Get set up:
- Preheat the oven to 350°F (175°C) and line three 8-inch cake pans with parchment. The anticipation always builds as I butter the pans—it's a little like prepping an artist’s canvas.
- Sift the dry ingredients:
- In a large bowl, sift together flour, sugar, baking soda, salt, and cocoa powder. Watching the cocoa streak through the flour, I can almost taste the velvet texture already.
- Mix the wet ingredients:
- Whisk oil, eggs, buttermilk, rosé, vanilla, and vinegar until smooth; the soft pink swirl always makes me pause and appreciate the color.
- Combine and tint:
- Pour the wet into the dry and mix gently—overmixing can make it dense. Add gel food coloring little by little until the shade is just the right blush, then smile at the transformation.
- Bake the layers:
- Divide evenly between pans and bake for 30-35 minutes. When I check for doneness, the gentle spring under my fingertip feels like a small triumph each time.
- Cool completely:
- Let cakes rest in pans for ten minutes, then turn onto a rack. They need to cool fully—warm cakes are sneaky and will melt frosting.
- Make the buttercream:
- Beat butter until billowy and pale, then add powdered sugar in portions. Finish with rosé, vanilla, and salt; the first taste always makes me swoon a little.
- Assemble the cake:
- If needed, level your layers. Layer cake and buttercream, remembering to chill for 20 minutes after crumb-coating—that pause keeps everything neat for your finishing coat.
- Gold drip magic:
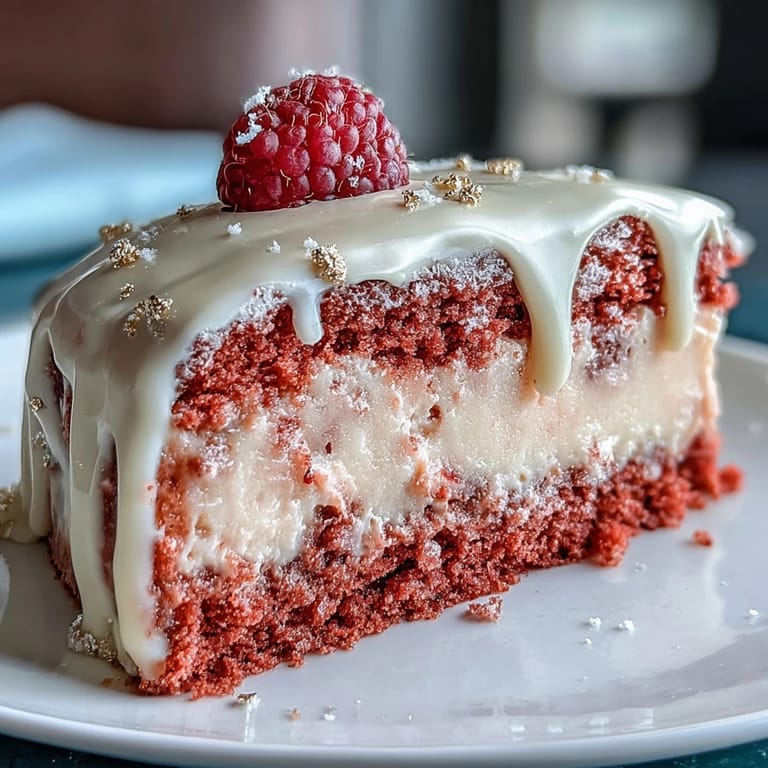
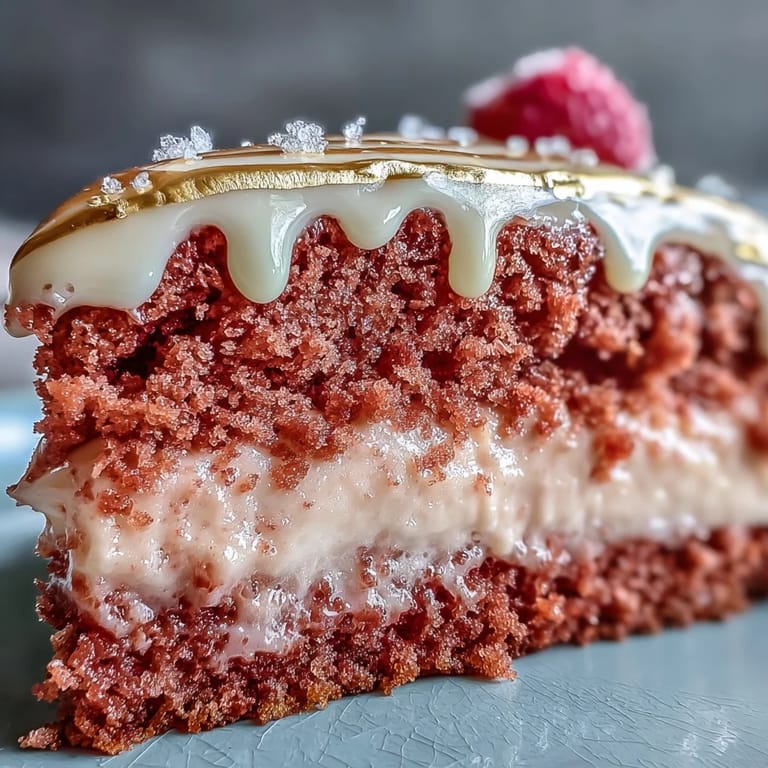
- Melt white chocolate and cream, then cool. Drizzle over the chilled cake edge, letting it create natural drips, and later paint each with edible gold for that wow effect.
- Decorate lavishly:
- Finish with rose petals, extra gold, or fresh berries—whatever feels most decadent in the moment.
 Pin It
 When I surprised my cousin with this cake in the garden, afternoon light scattered over the gold drips and petals. Something about that shimmer made the day feel marked—more than dessert, it became the detail everyone talked about long after the last crumb vanished.
That Perfect Rosé Pink
Matching the cake’s blush to the bridal theme became an unexpected challenge—three attempts later, I learned to start with just a drop of gel food coloring and build slowly. Too much, and the color turns candy-bright instead of soft and romantic, so patience (and a clean toothpick) saves the day.
Painting on Edible Gold
Mixing luster dust with a splash of vodka for the drip is oddly meditative; swirling the brush and watching the drips turn regal never loses its charm. I used to rush this step, but giving the chocolate a ten-minute rest before painting really helps avoid streaks and keeps the gold vibrant.
Make-Ahead and Serving Joy
Baking the layers the night before is my secret for stress-free assembling on party day—just wrap them tightly to keep them fresh. The whole cake holds beautifully in the fridge, and those gold drips actually look even more dazzling the next day.
- Bring the cake to room temperature before serving for the best texture.
- If slicing ahead, clean your knife between cuts for picture-perfect slices.
- Any leftover buttercream is magic on cupcakes or sugar cookies.
 Pin It
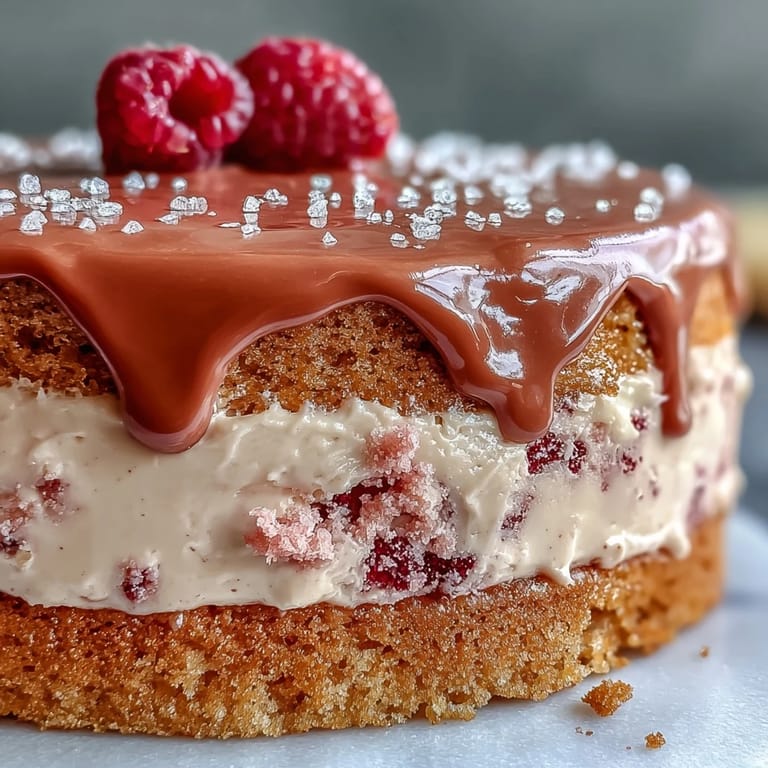
 Whether you’re celebrating love or just indulging your inner artist, this pink and gold creation never fails to spark a little joy. Here’s to all your deliciously golden moments to come.
Recipe FAQs
- → How do I prevent crumbs in the finish?
Apply a thin crumb coat first, chill the cake until firm, then smooth the final layer of buttercream with an offset spatula. Working cold reduces crumbs and makes sharp edges easier to achieve.
- → What type of rosé works best in the batter?
Choose a dry or lightly off‑dry rosé for subtle floral and fruit notes. Avoid very sweet or fortified wines that can alter balance and texture.
- → How do I keep the buttercream stable with added rosé?
Add rosé gradually and beat until fluffy; if it becomes too loose, add more sifted powdered sugar and chill briefly. Cold butter and short, high‑speed beating yield a stable finish.
- → How is the edible gold drip made safe and shiny?
Use a white‑chocolate drip base cooled to a pourable temperature, then paint with a mixture of edible gold luster dust and a food‑safe solvent like vodka or clear lemon extract. Never use non‑edible metallics.
- → Can the cake be prepared ahead of time?
Yes. Bake and cool the layers, assemble and chill overnight. Store chilled and bring to room temperature before serving for best texture and flavor.
- → What decoration ideas complement the gold drip?
Finish with fresh rose petals, berries, or small sugared blooms for contrast. Keep garnishes food‑safe and avoid non‑edible metallic trims near the edible surface.